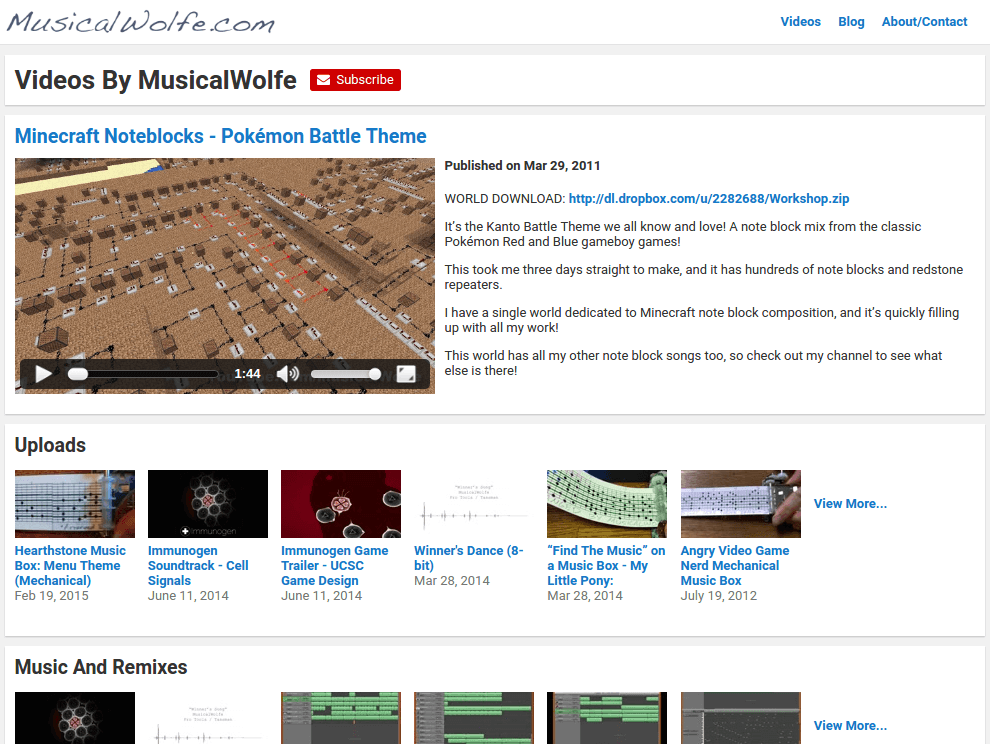
OwnVideo is a free Jekyll theme that lets you Host Your Own Video! In the OwnVideo theme, every Jekyll "post" is a video, and like most video sharing sites, each video has its own "watch" page that puts that video front-and-center.
OwnVideo was created with user control in mind. If you upload videos to a video sharing service, they can be taken down by copyright claims and takedown requests. In some cases the large video sharing services have been known to take down videos that receive complaints just to be safe, even if there is no copyright infringement! OwnVideo bypasses video sharing sites and lets you control your videos on your own domain, on your own terms.
- Full-fledged video "watch" pages with multiple video qualities, share buttons, and optional integrated Disqus comments
- Custom playlist and custom thumbnail support
- Automatic video conversion using FFmpeg (via included Python script) for full browser video compatibility
- Mobile-first responsive design
- Host your video files on a separate domain - for example, your site can be hosted on GitHub pages, but serve its video files from Amazon S3.
- Automatic creation of Structured Data and OpenGraph tags, so your videos look great in search engine results
- Uses the Jekyll static site templating system, so no backend (server-side) code is required
Please check out my site MusicalWolfe.com to see an instance of OwnVideo running with some of my videos.
Ownvideo does video conversion, so it's a little more involved than most Jekyll themes. The installation and build steps assume that you have some experience with Jekyll and the general workflow of building a Jekyll site.
- Jekyll version 3 or later. For how to install Jekyll, see the page on Installing Jekyll.
- Python 2.7. This is used for the video conversion script. If you're using Ubuntu you can run
sudo apt-get install python. - FFmpeg. The video conversion script uses this to convert your video files to web-streamable formats and resolutions. For how to install FFmpeg on Ubuntu, please see this AskUbuntu thread
- MediaInfo. The video conversion script uses this to extract video metadata from your video files. If you're using Ubuntu you can run
sudo apt-get install mediainfo.
- Clone or download this GitHub repository, which contains the sample site.
cdinto thesource_videodirectory and runpython ./transcode.py. This will useffmpegandmediainfoto transcode all of the source videos into web-streamable formats and resolutions.cdinto the main directory and runjekyll serve. You should be able to view the built sample site at http://localhost:4000/.
In OwnVideo, every video has a video id. A video id in OwnVideo is similar in concept to a YouTube video id - it's an immutable string that is used as a unique identifier for a video, and it serves as that video's custom URL. When building your own OwnVideo site, the most important thing to note is to always use the same video id to refer to a specific video. Unlike on YouTube, instead of being a random string, a video id can be a custom slug based on the title of the video it represents.
The following folders are important moving parts of the OwnVideo Jekyll theme:
-
source_video- The source_video folder is where you will put all of the videos you want to post to your OwnVideo site. Every video file name should be in the formatvideo-id.ext, wherevideo-idis the unique video id of the video, andextis one of any common video extensions such asmp4,avi,wmv, etc.. If you have any custom thumbnails, they should be namedvideo-id.jpg, and ideally be in the same resolution as the source video. -
_posts- The posts folder is where the metadata for the videos goes, such as titles and video descriptions. The post filenames should be in the formatYYYY-MM-DD-video-id.markdown. The front-matter should contain the videotitle, thevideo-id, thecategories(playlists) that the video is a part of, and thedatethat the video was published. All videos that you want to show on the front page of your site should be at least part of the specialuploadscategory. -
video- The video folder is the output folder of thetranscode.pyscript, and it is where the web-streamable video and thumbnails will be produced and hosted from. If you choose to host your video folder on a different domain than the rest of your site, be sure to update thevideo-baseurlin your_config.ymlfile. -
_data- In addition to populating thevideofolder, thetranscode.pyscript also creates a resolution descriptor file calledresolutions.jsonin the_datafolder. Leave this where it is, as it contains the information necessary for the watch page to know which video resolutions and formats are available for the user to stream. -
img- Overwrite the image files here with your own custom branding.
Now that you know the general folder structure of the OwnVideo theme, let's build it using your own custom videos.
- Put your videos in the
source_videofolder with the naming schemevideo-id.ext. - Put your custom thumbnails in the
source_videofolder with the naming schemevideo-id.jpg. If you don't have custom thumbnails, video thumbnails will be automatically created for you! - Put your video metadata in the
_postsfolder with the naming schemeYYYY-MM-DD-video-id.markdown. For examples of what the metadata file should look like, please see the_postsfolder in the example site. cdinto thesource_videosfolder and runpython transcode.py. This will transcode your videos into web-streamable formats and output them ready-to-go in thevideosfolder. It will probably take a while.- Open up the
imgfolder and replace the images there with your own custom branding. - Open the
aboutfolder and edit theindex.markdownfile to create your own about/contact page. Or you can just delete it. On the other hand, you may add additional pages - for example aterms/index.markdownor apress/index.markdown. As long as you set a permalink and title for them in the front-matter (and use thepagelayout), they should automatically show up in the site's nav bar. - Open
_config.ymland add some info about yourself to thetitle,description, andauthorfields. cdinto the main folder and runjekyll serve. Visit http://localhost:4000/ and make sure your videos play well and your site looks exactly how you want it.- Open
_config.ymlone last time and change theurlandvideo-baseurlfields to point to the final URLs where you will be hosting your site online. - Run
jekyll buildto produce the final build of your site, then upload the contents of the_sitefolder to your web hosting server.
This software is available under the MIT License, details in the included LICENSE.md file.